| คู่มือและวิธีการตั้งค่า Setting |
 |
| วิธีการตั้งค่า 2-Step Verifycation สำหรับ Webmail โดยใช้ Google Authenticator |
| |
| 1. สำหรับการใช้งานนี้จำเป็นต้องดาวน์โหลด Google Authenticator ติดตั้งบนมือถือก่อน
สำหรับผู้ใช้ Iphone สามารถดาวน์โหลดผ่าน App Store และผู้ใช้ Android สามารถดาวน์โหลดผ่าน Play Store
|
|
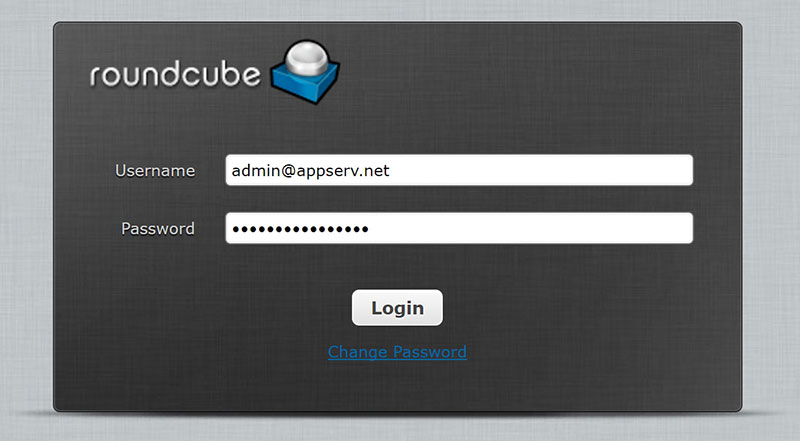
| 2. Login เข้าสู่ Webmail ของท่าน |
|
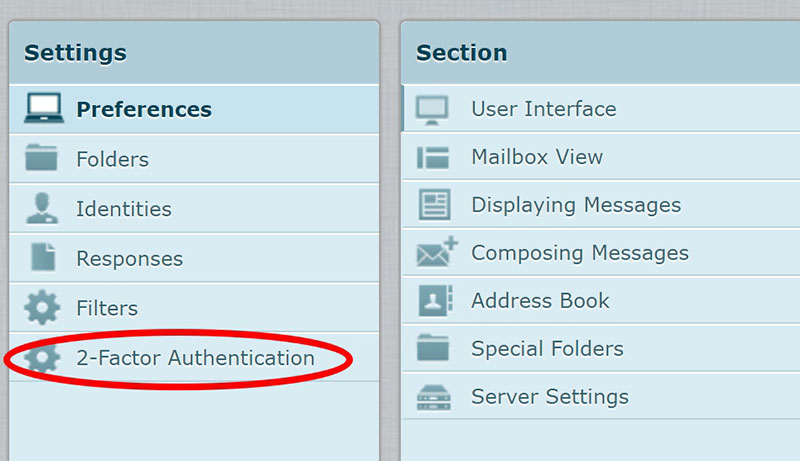
| 3. คลิกเมนู Setting ด้านมุมขวาบน |

|
| 4. คลิกเมนู 2-Factor Authentication ด้านซ้ายมือ |
|
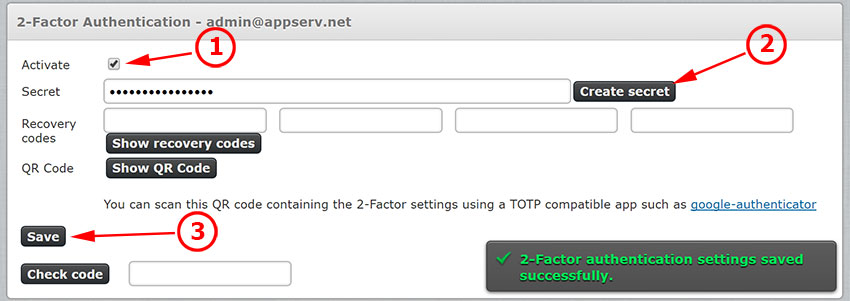
| 5. เปิดใช้งานระบบ 2 Step Verifycation |
1. เช็คถูกในส่วนของเมนู Activate
2. คลิกปุ่ม Create Secret
3. กด Save เพื่อยืนยันการเปิดใช้งาน 2 Step Verifycation
|
|
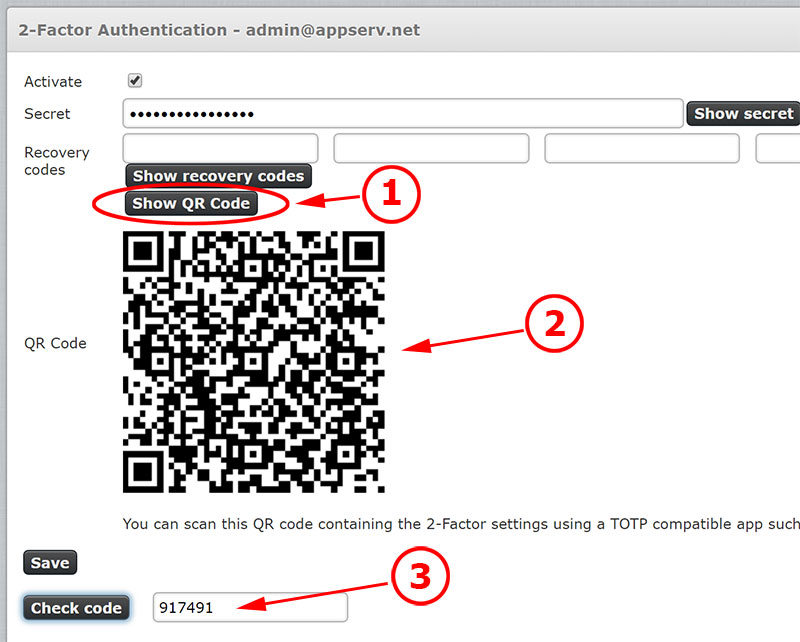
| 6. ทำการ Scan QR Code ลงใน Google Authentictor บนมือถือ |
1. คลิกที่ปุ่ม Show QR Code
2. Scan QR Code ผ่าน Google Authenticator บนมือถือ
3. ทดสอบการใช้งานโดยป้อนตัวเลขของ Google Authenticator บนมือถือ ลงในช่อง Check Code แล้วกดปุ่ม Check Code ทดสอบ
|
|
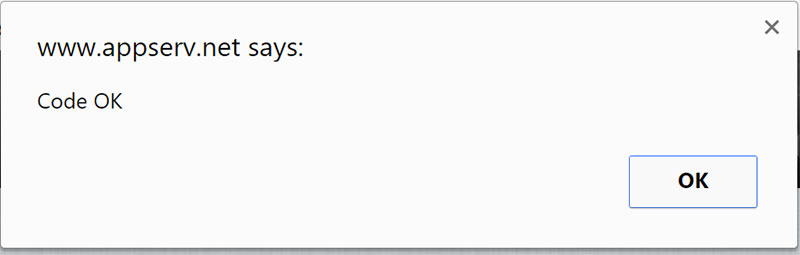
หากทำงานถูกต้องจะปรากฏ Pop Up ขึ้นมาแสดง Code OK เพียงเท่านั้นก็เสร็จสิ้นขึ้นตอนตั้งค่า
|
|
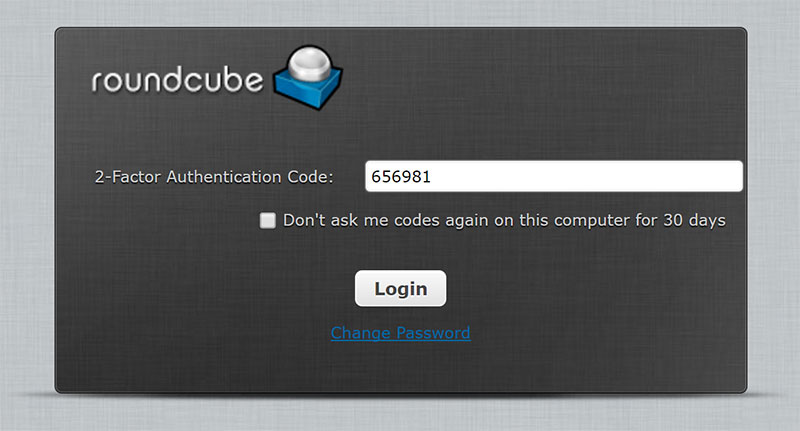
| ตัวอย่างการ Login เข้าใช้งาน Webmail 2 Step Verifycation โดนยืนยันผ่าน Google Authenticator |
หลังจาก Login ด้วย User & Password สำเร็จแล้ว ตัว Webmail จะให้ยืนยันการป้อนตัวเลข 2 Step อีกครั้ง โดยให้ท่านเปิด Google Authenticator บนมือถือของท่าน จากนั้นนำตัวเลขที่ได้มาป้อนลงไปยังหน้าจอดังกล่าวเพื่อ Login เข้าใช้งานอีเมล์
|
|
| |


 01
01

